Compiling the template app
Setting up the environment on Windows
On Windows we recommend using WSL (Windows Subsystem for Linux) to create a virtual Linux environment to work in.
Step 1: download Ubuntu 24.04.1 LTS from the Microsoft store.
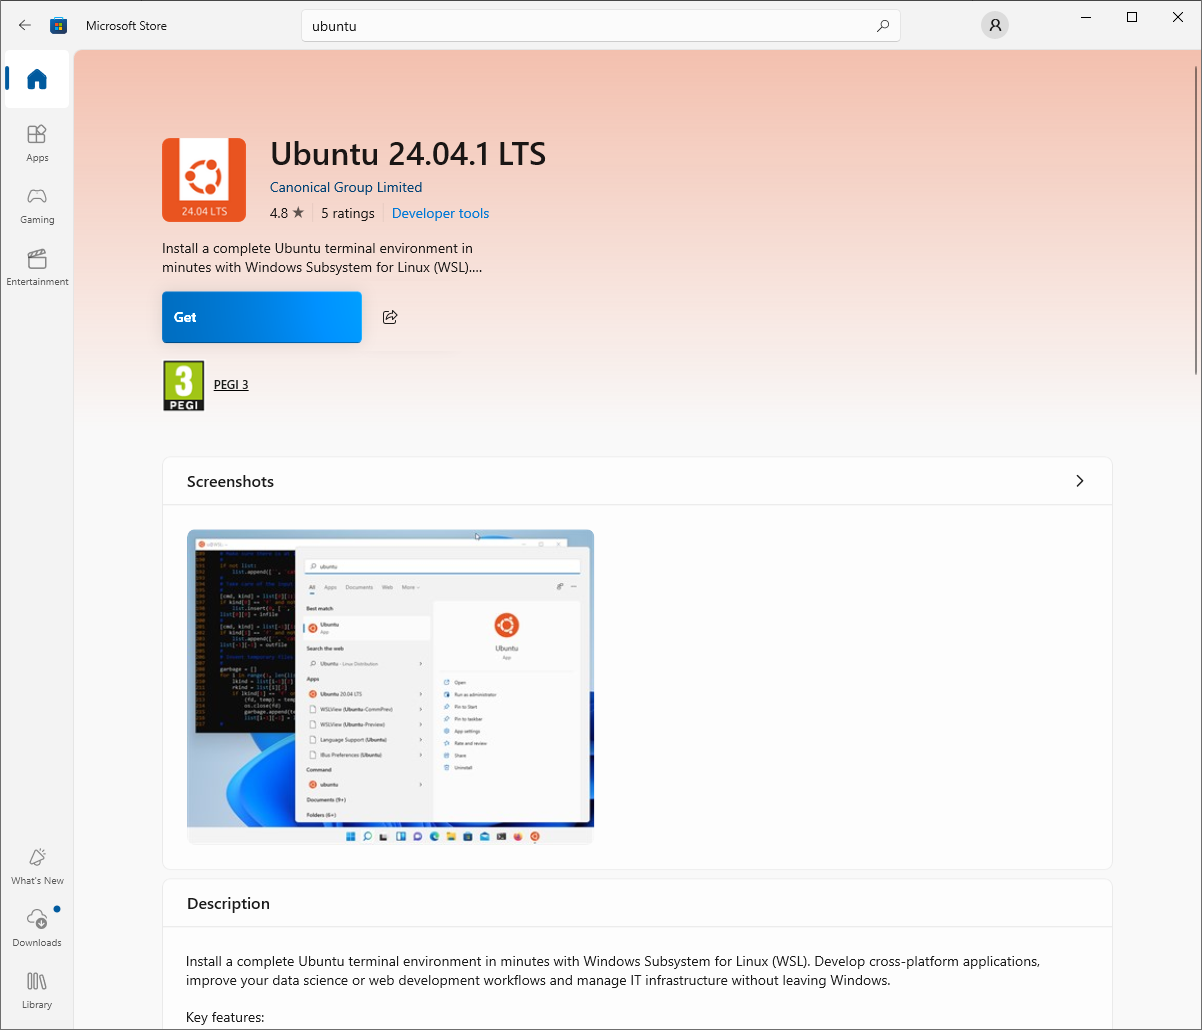
Click the Get button. After the Linux environment is installed you can find it in the start menu.

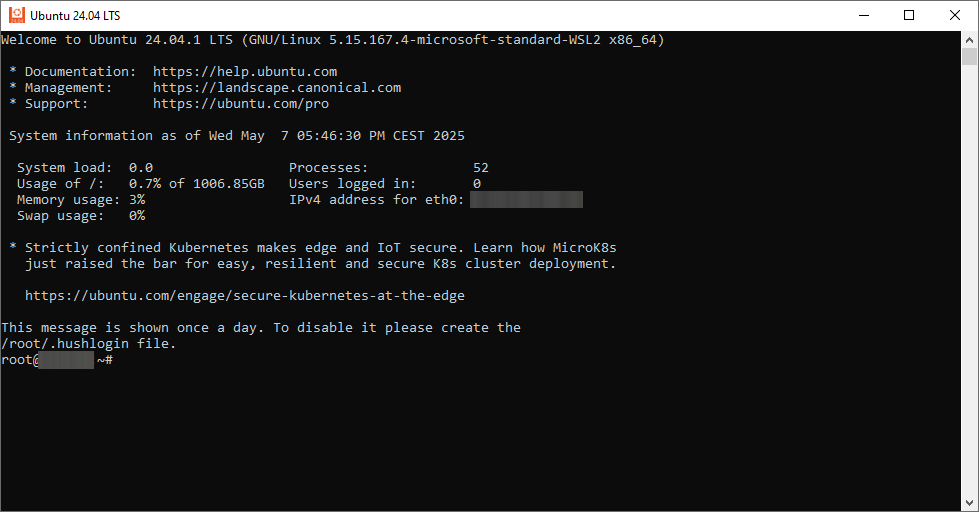
After starting the Ubuntu environment you should be presented by the following prompt:
Step 2: install required packages
Run the following command to install the dependencies:
sudo apt-get install git wget flex bison gperf python3 python3-pip python3-venv cmake ninja-build ccache libffi-dev libssl-dev dfu-util libusb-1.0-0
Press Y when asked if you want to continue.

Step 3: clone the repository
Either clone the template repository or first use the template on Github to set up your own Git repository to work with.
Then clone your repository into the Ubuntu environment:
git clone https://github.com/Nicolai-Electronics/tanmatsu-template
Replace the URL in the command above with the URL of your repository.

Step 4: install the ESP-IDF SDK
There are two options for installing ESP-IDF, the SDK and toolchain for compiling ESP32 firmware, made by Espressif.
Option 1 is installing ESP-IDF into a subfolder of your project. This will make no system wide changes to your system but does require a copy of ESP-IDF per project folder. This can quickly fill up your hard-disk if you have many projects.
Option 2 is installing ESP-IDF system wide. For this you need the Espressif Installation Manager. We recommend this option for developers working on multiple projects at once.
The Makefile included with the template project automatically finds ESP-IDF. It does so by first looking for two files (.IDF_PATH and .IDF_TOOLS_PATH), which you could create to point to a specific copy of ESP-IDF and its toolchain. If those files do not exist then it will try to find subfolders in the project folder (esp-idf and esp-idf-tools). If those folders are also not found then it will look for ~/.espressif/<version>/esp-idf and ~/.espressif/tools, which is where the Espressif Installation Manager installs ESP-IDF to.
Option 1: installing ESP-IDF into a subfolder
First enter the folder into which you have cloned the repository.
cd tanmatsu-template
Then run the following command to install ESP-IDF and the toolchain into subfolders of the working folder. The SDK and toolchain folders have been added to the .gitignore file so that they won’t be committed into the repository when you commit your work.
make prepare


Option 2: installing ESP-IDF using EIM
First install Espressif Installation Manager following the official guide. There is no need to install any version of ESP-IDF using the tool.
After installing EIM, make sure to first enter the folder into which you have cloned the repository.
cd tanmatsu-template
Then run the following command to install ESP-IDF and the toolchain using EIM.
make eim-sdk
Step 5: compile the app
Run the following command to compile the app:
make build
Optionally you can add a DEVICE= argument to select another target device. The default device is Tanmatsu. Currently only Tanmatsu and the MCH2022 badge by Badge.Team are supported.
make build DEVICE=mch2022
Build output can be found in the build/tanmatsu or build/mch2022 folders depending on the selected target.
The binary which can be installed on the target device can be found at build/tanmatsu/application.bin. This is the only file you need to run your app.
You can choose to install your app as the main firmware for the target device, however do note that this will overwrite the launcher and all other already installed data on your device.
For debugging this is the easiest way of working, however if you want to use your Tanmatsu for more applications you can use BadgeLink to install the app to the AppFS partition.
If you have installed your firmware in place of the launcher firmware you can easily restore the launcher firmware using the recovery website.